
A well-designed email signature that includes your name, role, contact information, and brand logo is the best way to tell people who you are and what you do.
Outlook 365, a part of the Microsoft Office Suite, is the preferred way for sending emails in the professional world. This email client offers a range of features that help in effective email communication. One of them is the ability to add a personalized signature. If you are an Outlook user, this blog is written just for you. We’ll walk you through the process of adding a signature in Outlook 365 in simple steps.
Different Types of Signatures
Email signatures can be classified broadly into two main types based on their content. They are text-based signatures and image-based signatures.
1. Text-based Signature
A text-based signature is a simple, basic signature and includes your name, company name, contact, and other information.
Example:
John Doe,
Marketing Manager,
Signature Generator,
New York, NY, USA
Contact No: +1 111 222 333
2. Image-based Signature
An image-based signature includes all the same information as a text-based signature. However, it also consists of an image (profile picture), logo (company), and/or icons (social media).
Example:
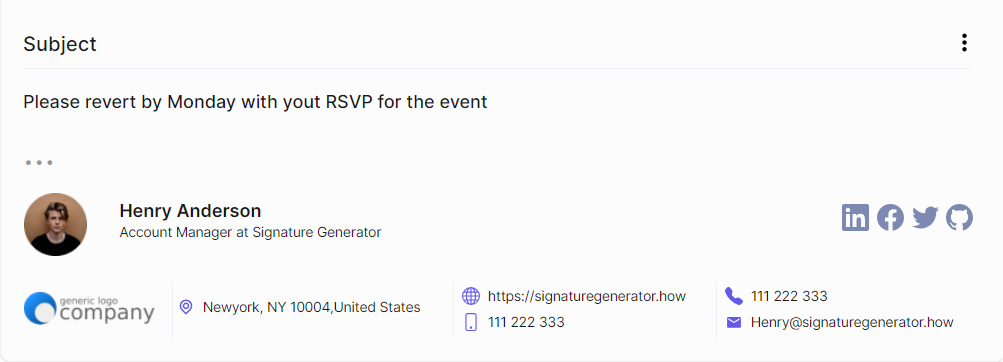
If we compare text-based signatures with image-based ones, the latter is a better choice. Image-based signatures look more professional and engaging, help build the brand identity, and reflect your personality. So, it is the preferred choice for a majority of people.
Benefits of Adding Signatures to Emails in Outlook 365
Having an email signature isn’t just about aesthetics or formality. Instead, it can serve a number of practical purposes, such as:
- Ensures professionalism and brand consistency across emails.
- Helps recipients get in touch with you outside email communications.
- Serves as an effective marketing tool for you and your organization.
Adding Email Signatures in Outlook 365
Now that we’ve covered some basic concepts regarding email signatures, let’s look at the step-by-step process of adding a signature in Outlook 365. The process can be completed in a few easy steps in a matter of minutes.
How to Create and Save a Signature in Outlook Live
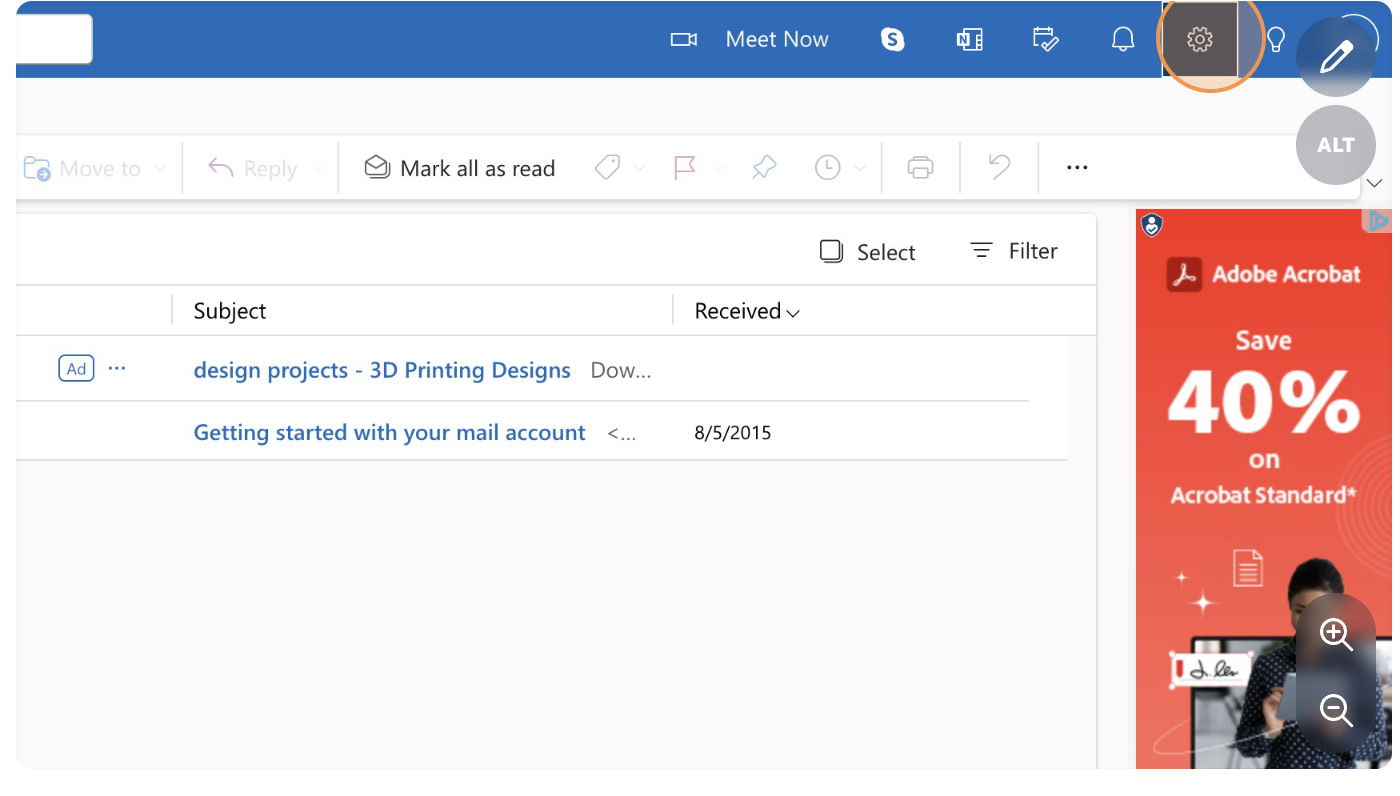
- Open Outlook 365 and click on Settings (Gear icon) at the top of the app window.
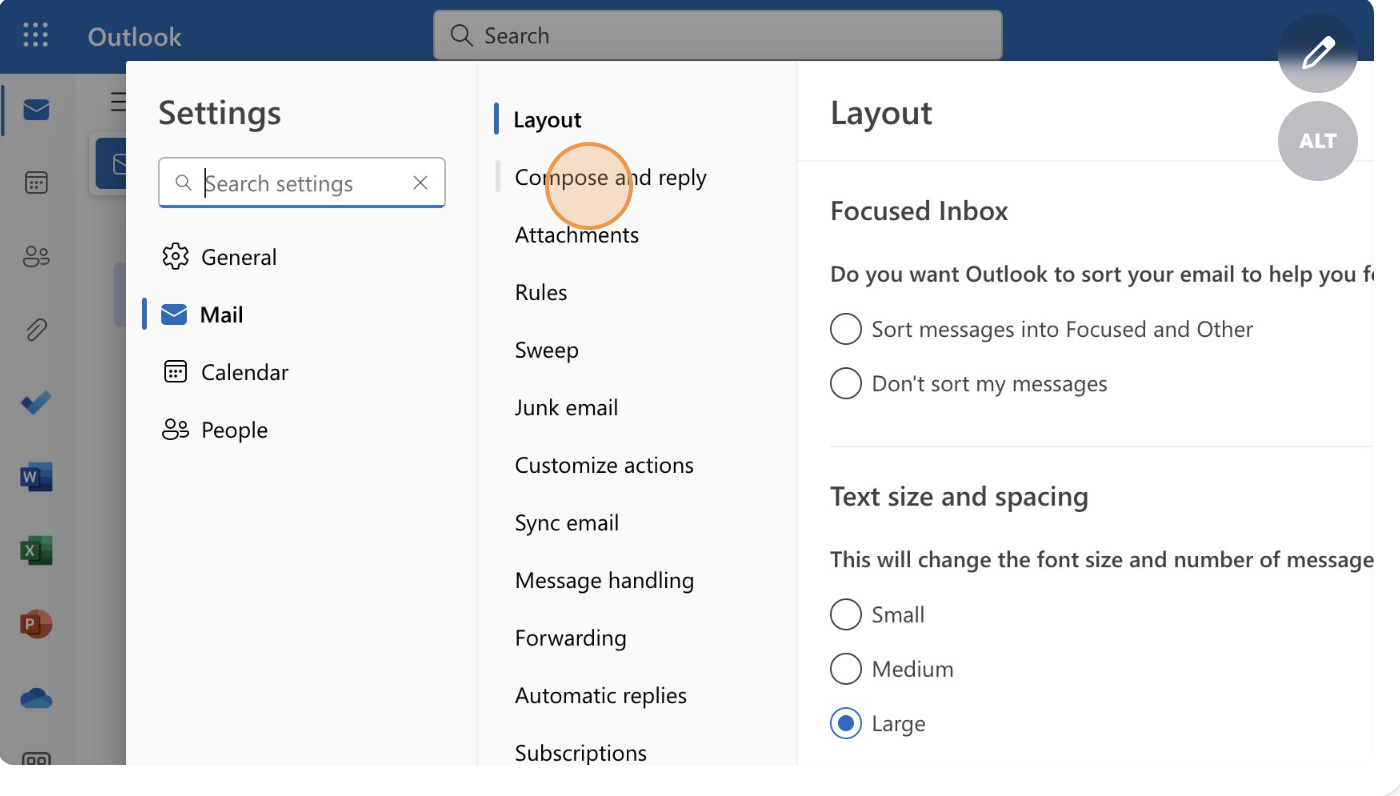
- Next, click the ‘Mail’ option and then ‘Compose and Reply.’
- Go to the ‘Email Signature’ tab. Type your email signature or paste an email signature template in the box. You can also use the formatting options at the window’s bottom to further customize your email signature in Outlook 365.
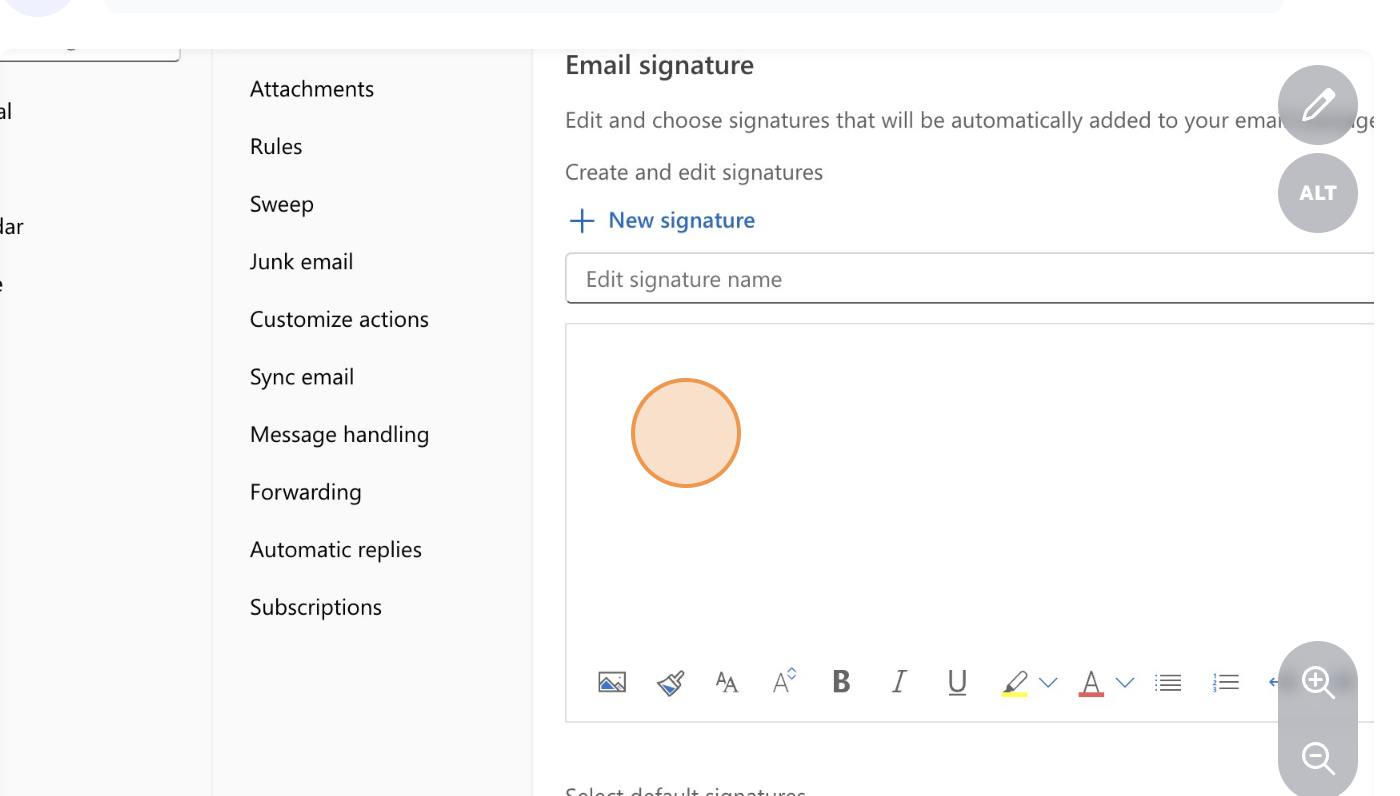
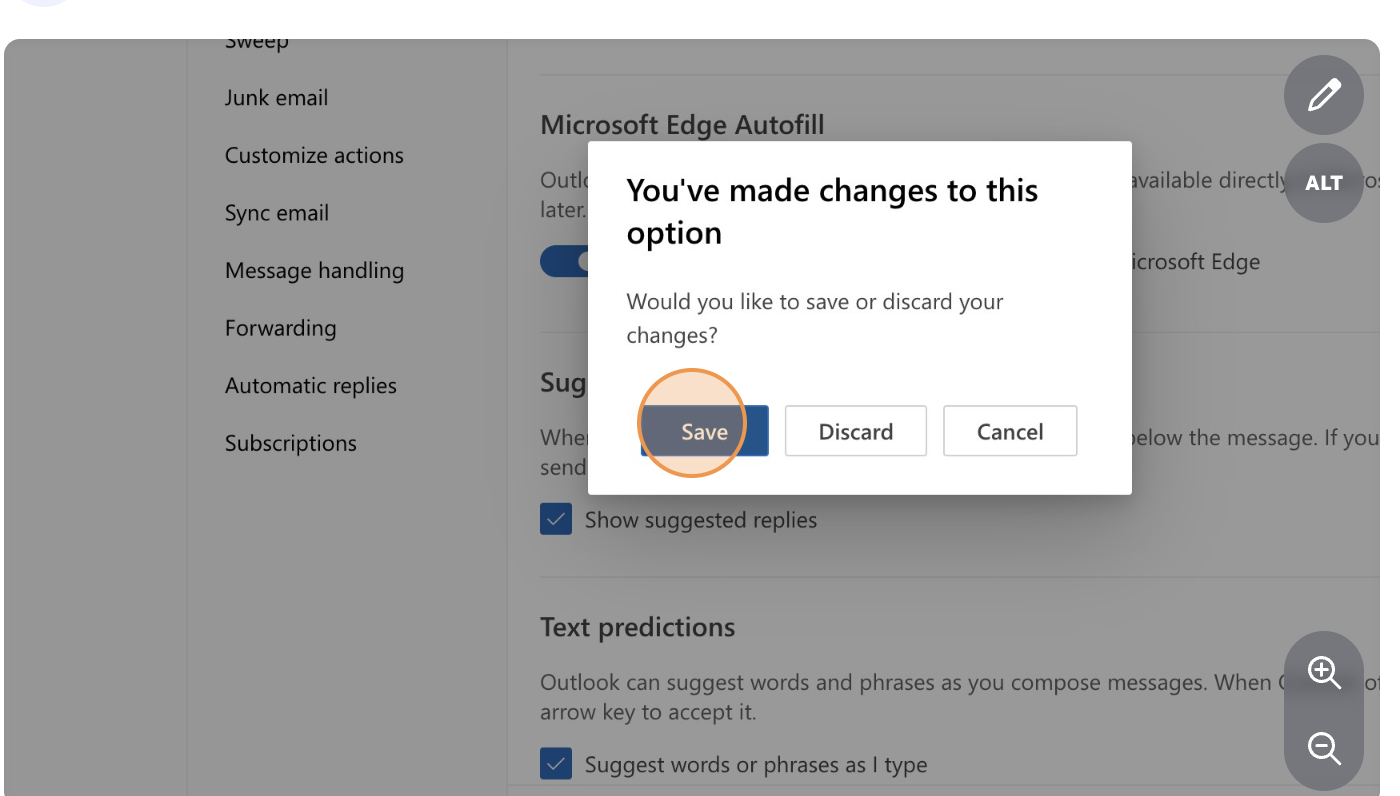
- Finally, click ‘Save’ to save your email signature. The email signature will now be added to every email you send using Outlook 365.
That’s it! You can add email signatures in Outlook 365 in just four easy steps. The process is simple and straightforward, making it easy to ensure your emails are always professional and on-brand.
Customizing Your Signature in Outlook 365
Creating a custom signature in Outlook 365 is a simple process that allows you to convey your professional identity. This helps foster more engaging and interactive communication with other professionals. The customization options are multiple. They range from text formatting and image addition to link inclusion and more.
Text formatting helps you structure your signature and highlight essential information. Similarly, adding images to your signature can make it more visually appealing and memorable. Additionally, including links in your signature can help recipients navigate vital online resources such as your website, portfolio, or social media profiles. Lastly, you can create multiple signatures and assign them to different email accounts or types of emails.
Customizing your signature in Outlook 365 can take some time and effort. But have you considered creating the perfect, customized email signature to be added to Outlook 365 without hassle? That’s where online email signature generator tools like ‘SignatureGenerator’ come to the rescue. Let’s take a look at how.
Crafting the Perfect Email Signature for Outlook 365 with SignatureGenerator
SignatureGenerator offers an easy, quick, and free way of creating stunning and professional email signatures. No coding, designing, or technical skills are needed. The interface is simple and straightforward, allowing you to create a beautiful signature in minutes. Here are the steps for creating an email signature for Outlook 365.
- Go to the SignatureGenerator website.
- Click on the ‘Email Signature’ tab.
- Under the details tab, enter all the relevant details like your first and last name, contact numbers, email, company logo, social media profile links, and others.
- You can see the changes happening in real-time.
- You can further personalize the email signature. Click on the ‘Style’ tab next to the details tab.
- Now, you can change the signature’s font style, color, and other design elements.
- Once satisfied with your email signature, click on the three ellipses in the top right corner of a signature design.
- Click the ‘Copy Signature’ option to copy it to the clipboard.
- Paste the signature in Outlook 365 by following the steps mentioned in the previous section.
Wrapping Up
Adding a signature in Outlook 365 is a straightforward process that can add credibility and professional touch to your emails. Remember to follow the tips mentioned in the blog and create an email signature that looks great and is easy to read. And with tools like Signature Generator, the process is further simplified. So, what are you waiting for? Get started on creating a unique and professional signature for Outlook 365 today!